Casting
Somewhere along the way I started focusing on more process-oriented projects. I still adore a good proof-of-concept, but ever since getting into the AU Industrial Design program (and out of all my other projects), my personal projects have tended to be much more... manageable. However, they all still originate with the phrase, "I could do that."
While working on my Aerogarden-esque gardening project in the Spring, I spent a lot of time running pieces on the laser cutter in shop. A student from the Graphic Design department had made a laser-cut Graphic Design keychain, and I thought it would be nifty to do likewise for Industrial Design. However, I didn't want to just copy it. "Maybe metal? Huh, I wonder how hard it is to cast stuff?"
So, I researched. And it turns out it's not that hard to cast small objects. It requires a lot of different items, sure. It's not the easiest thing to get into, and it takes time, patience, planning, and experience to make a really good piece. But it's not out-of-reach unless you just don't try.
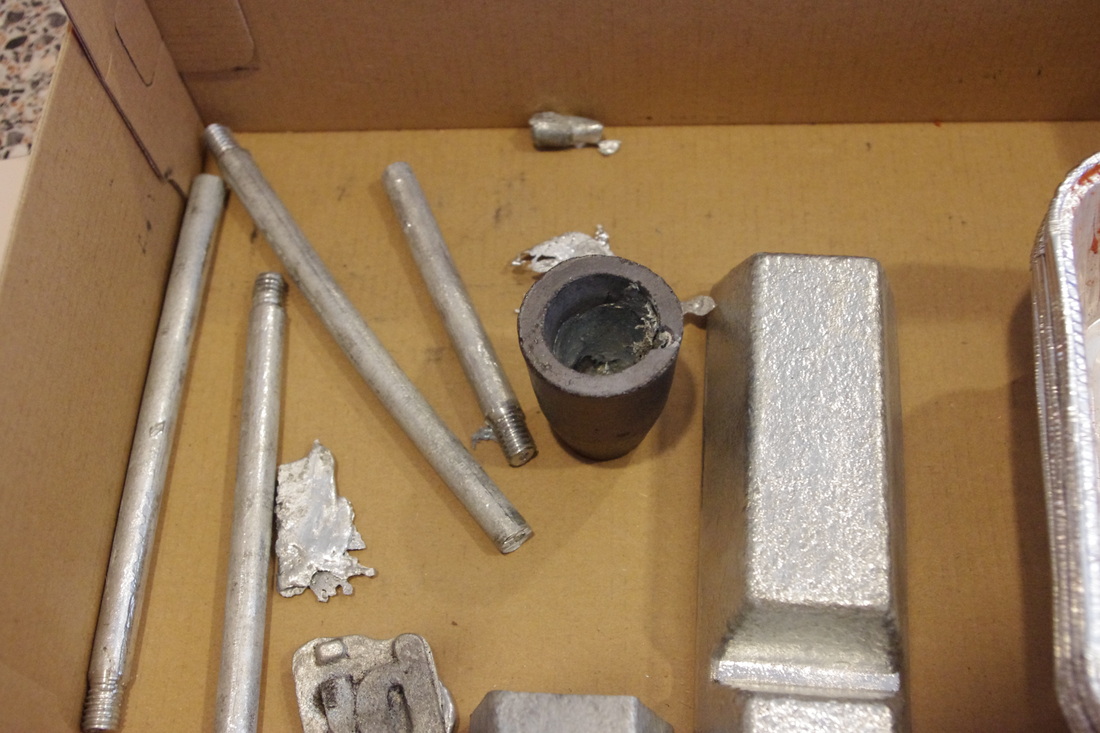
When I went to cut out my final set of acrylic pieces for the Corner Conservatory, I dropped some files of our ID logo in the unused-space between the pieces. I cut out two sizes, then promptly put all that away until the end of the semester. Once summer and free-time rolled around, I started playing around with the cut out bits, super-gluing them into place. I picked up some casting sand, crucibles, and tongs (Amazon.com is a wonderful thing...), and cracked out the turkey fryer I'd been given for my birthday. No, really. I'd been given it for this exact purpose... It's mostly just a stand and flame, so it works great for the low-temp zinc casting that I was getting into. There were plenty of crazy rigs and instructions on YouTube and the like, but this one was the best test-level system for me and what I was trying to do.
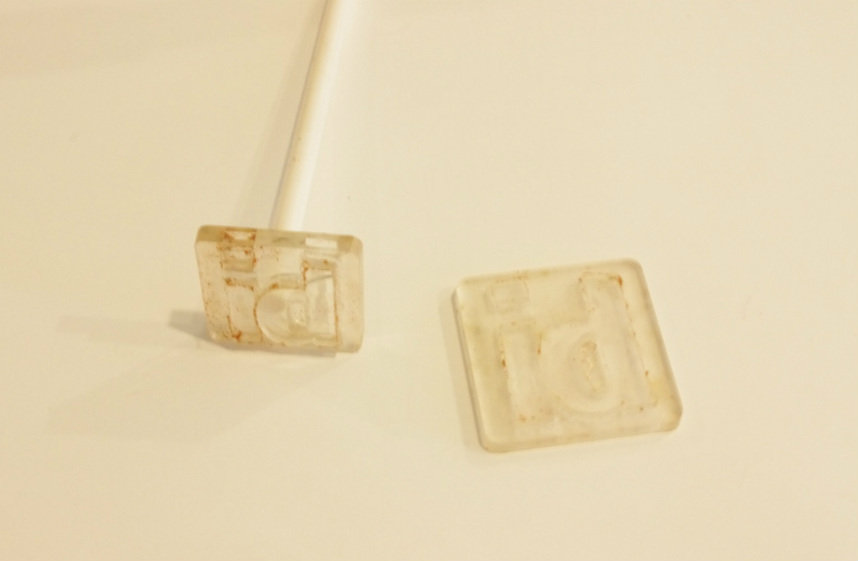
Acrylic cut-outs. I attached a pen-body to the back to make it easier to press and remove.
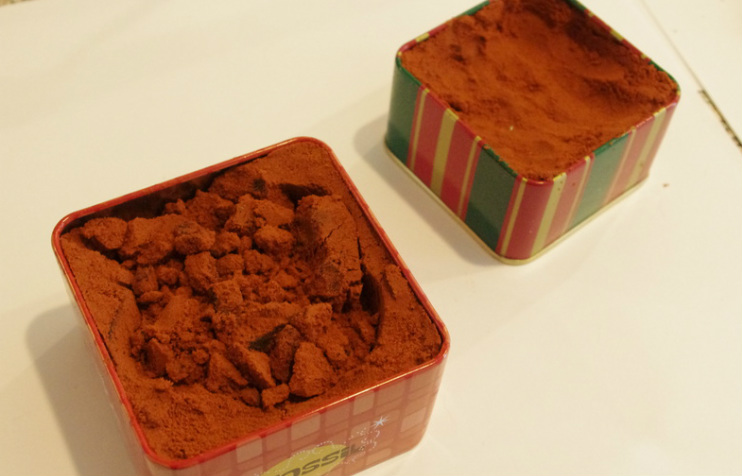
Casting sand. Pretty much any sturdy container will work, I just had a couple of tins lying around that worked perfectly for the small casts I was pouring.
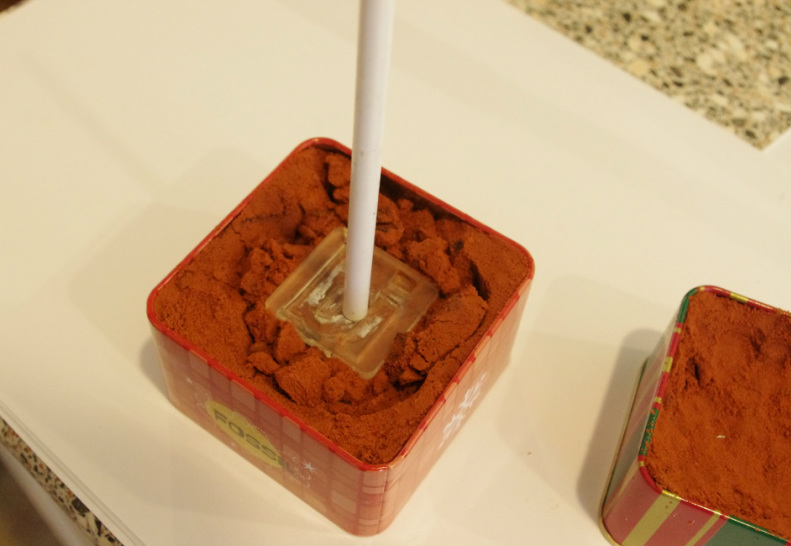
Pressing the form into the casting sand.
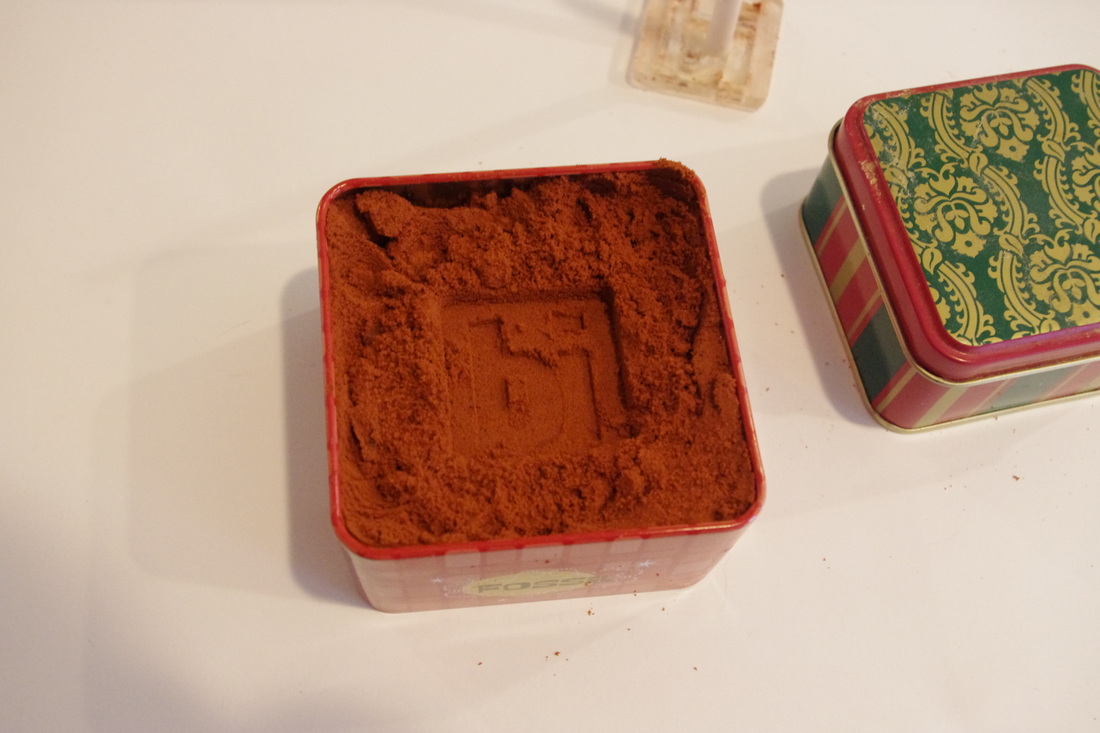
To get a good impression, the sand needs to be fluffed up a bit, very loose so that it can be packed down into shape. Even then, it takes a number of tries to get a good imprint. Frequently the sand will either cave in slightly around the edges or come away with the stamp, both visible in this press.
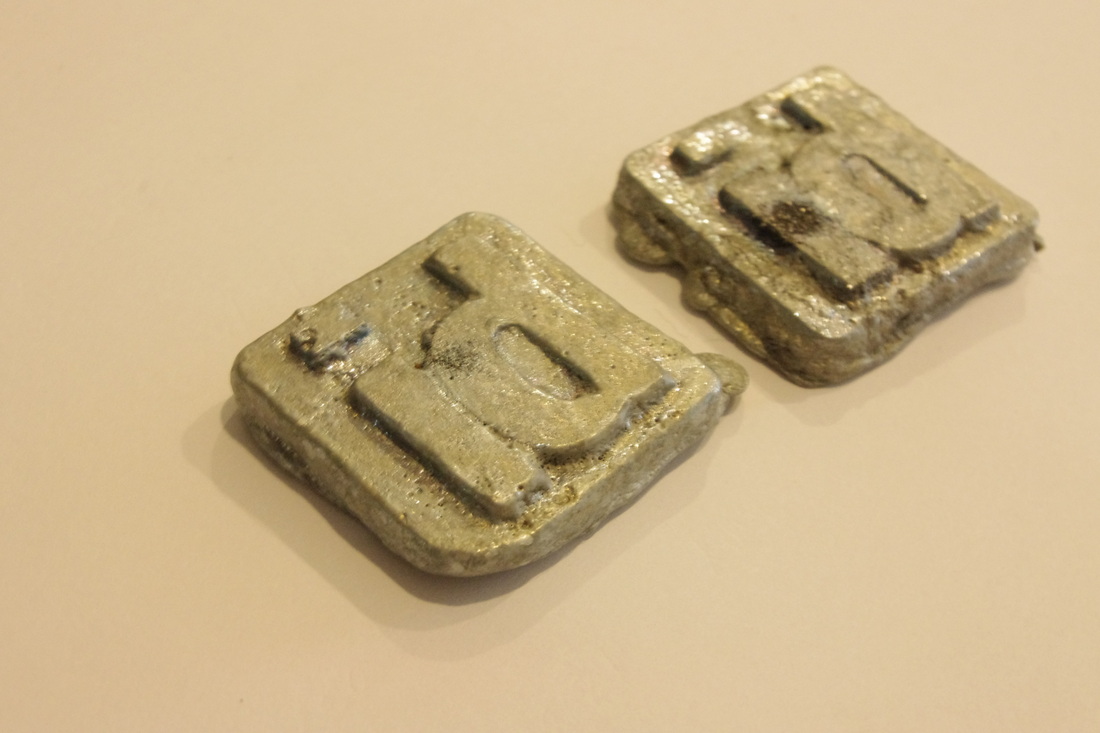
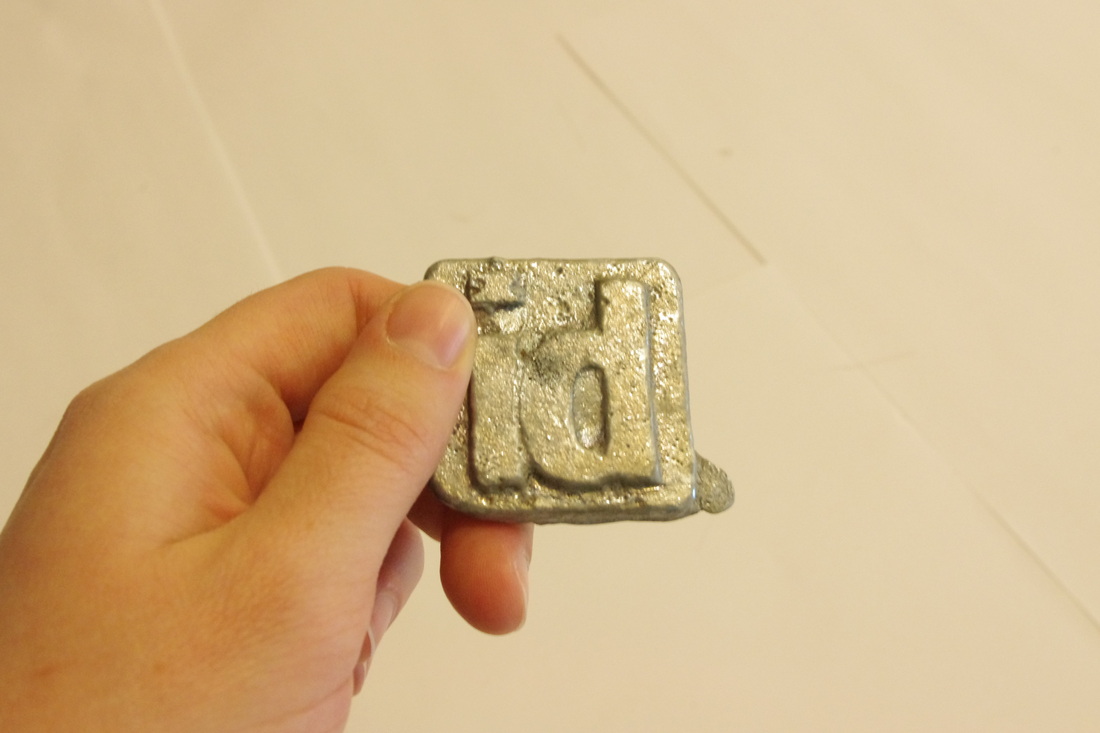
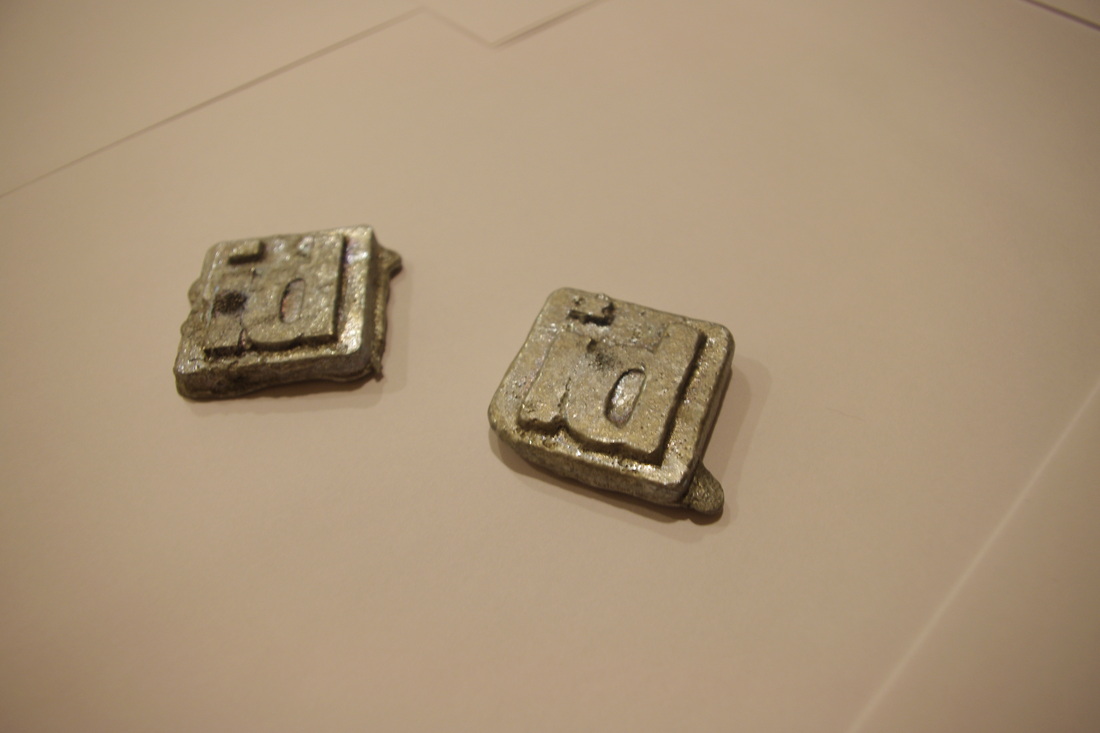
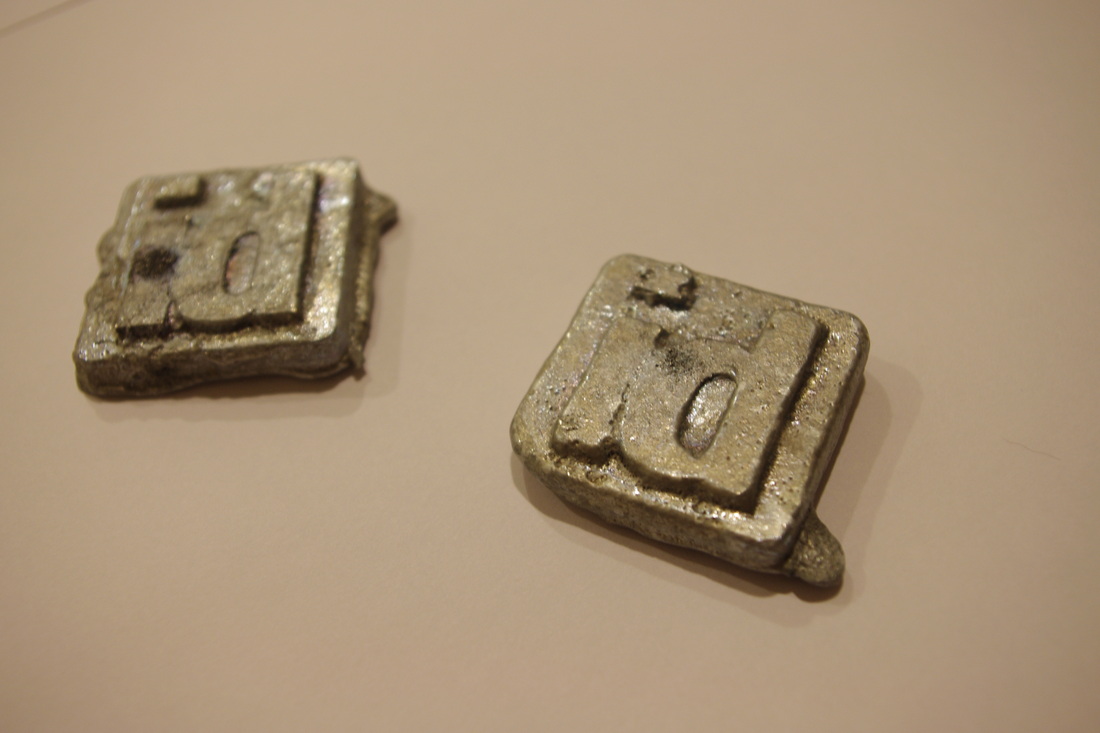
Initial pours.
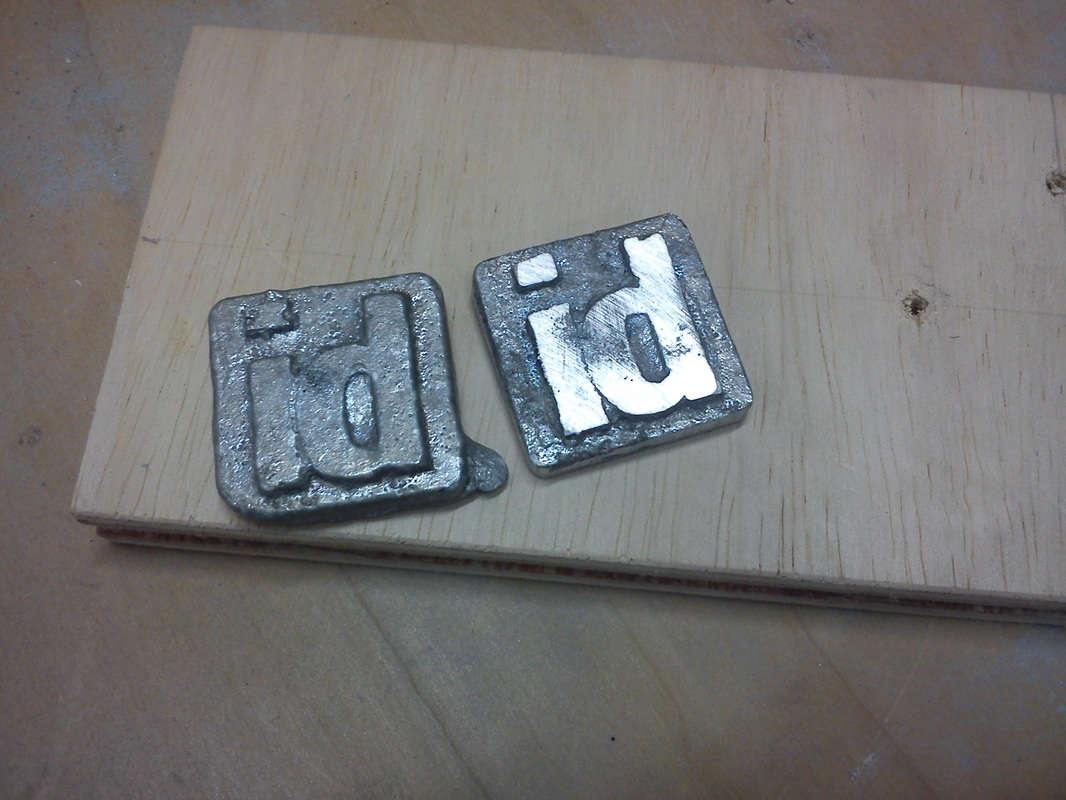
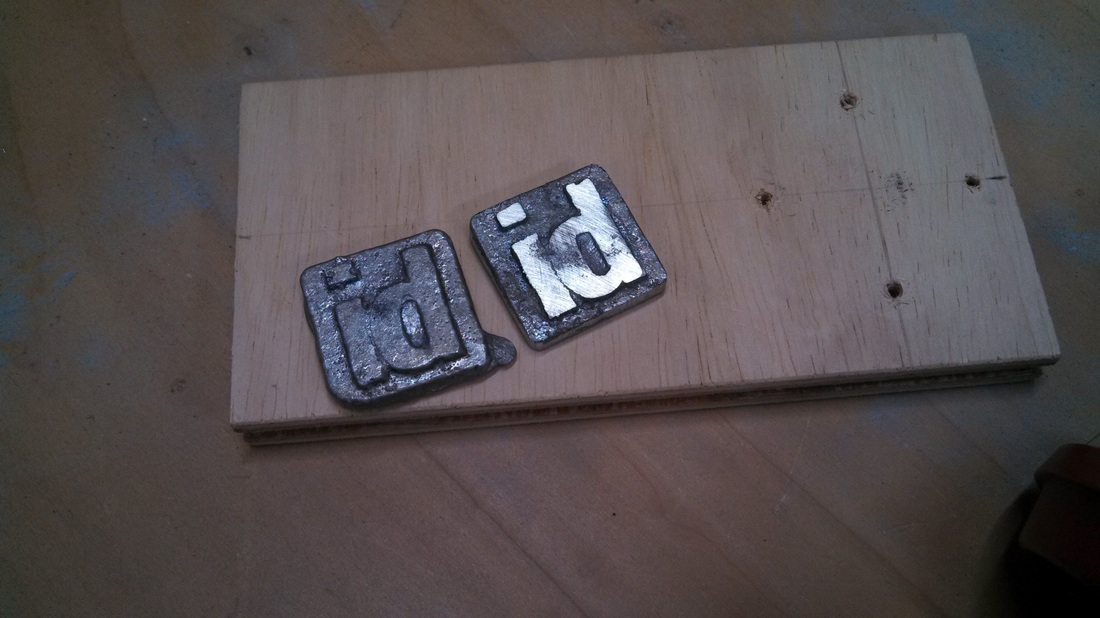
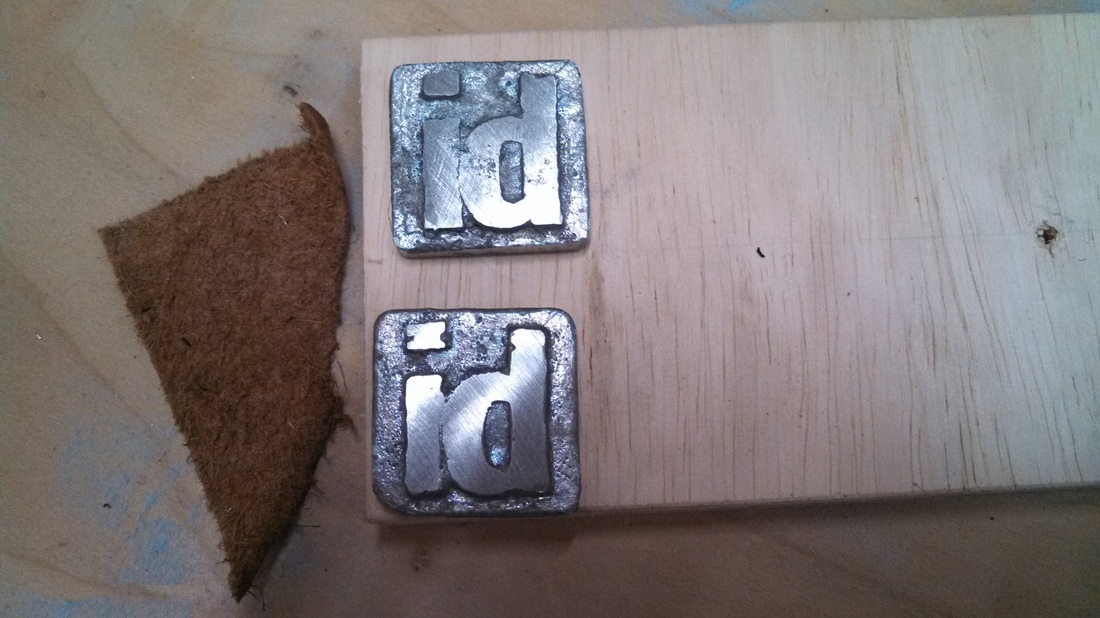
Side-by-side comparison after sanding and smoothing out the first one.
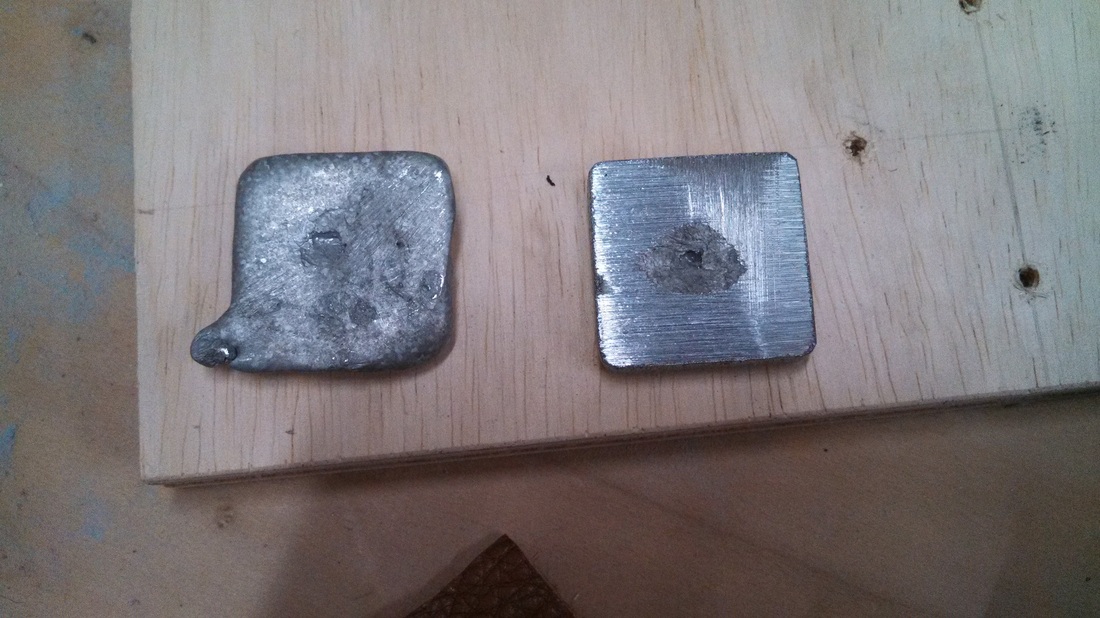
Back side-by-side.
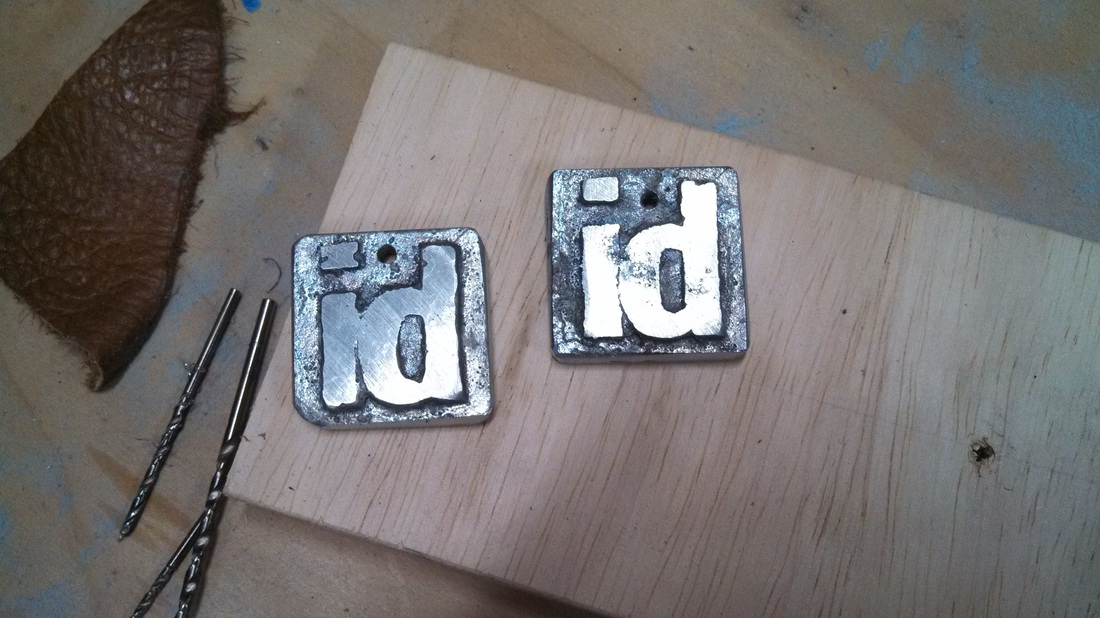
Both sanded.
Drilled holes for chain/attachment. One on the right was the first shot, moved the hole up on the second one.
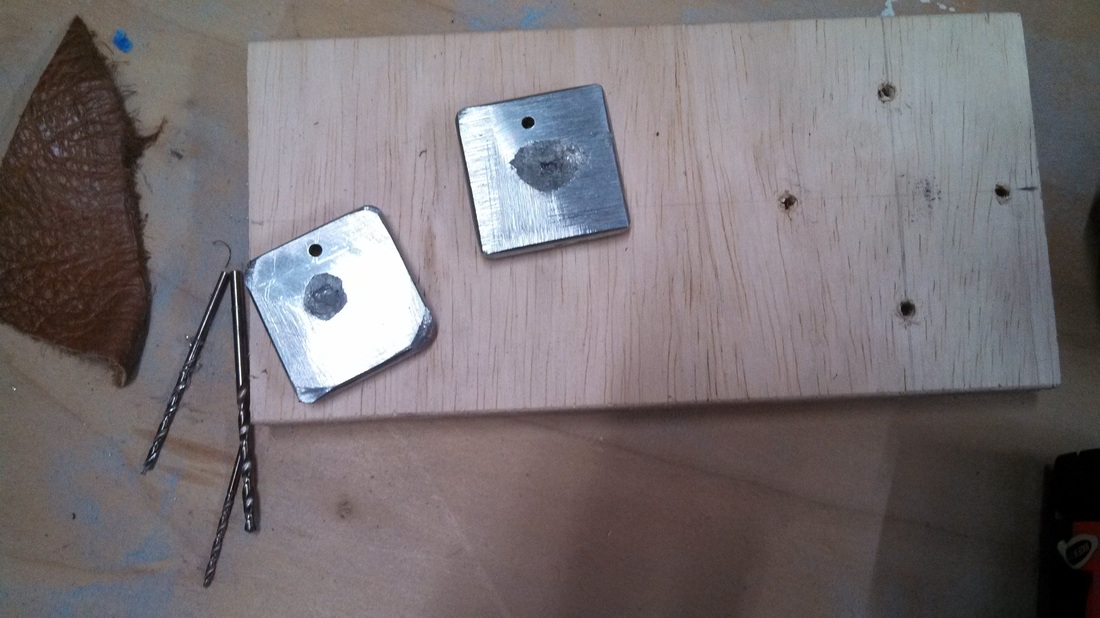
Backs, sanded down. I may go back through and sand these further... the two indentations resulted from where the metal was poured in.
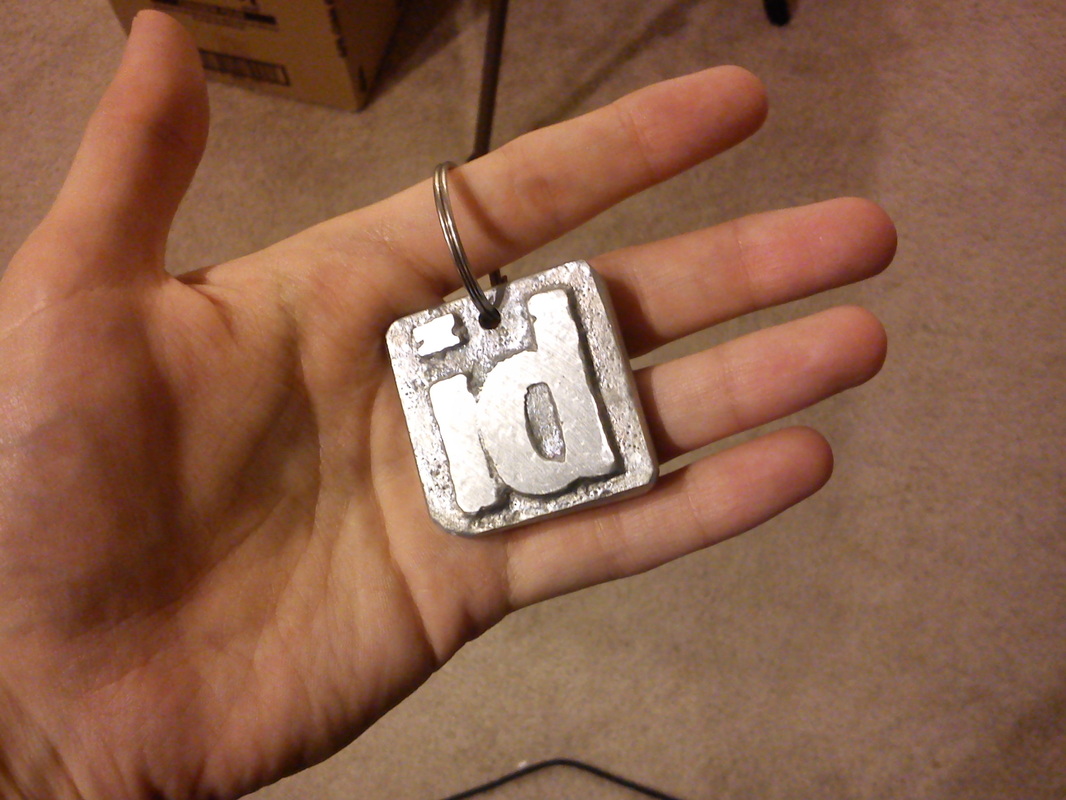
Finished, for now...
